
Hello, this is Freeman!
One of the most fascinating things about the classical guitar is that you can create a wide variety of tones simply by changing your right-hand technique — the fingers you use, the position where you pluck the strings, and the way you play.
I briefly touched on this idea in a previous article about the piece Lágrima.

4 Categories, 9 Types of Tone on Classical Guitar
- Soft Tone & Bright Tone (depending on right-hand position) → 2 types
- Strong Tone & Gentle Tone (Apoyando vs. Tirando technique) → 2 types
- Loud Tone & Quiet Tone (depending on plucking strength) → 2 types
- Tone Colors by Finger (which right-hand finger plays the melody: i / m / a) → 3 types
That makes a total of 4 categories and 9 types, which can be combined into 24 different tones.
For clarity, I’ve divided them simply here — please take it as a guide.
Today, let’s dive a little deeper into 9 different types of sound you can create on classical guitar.

Think of them like the guitarist’s version of effects pedals for electric guitar.
They may seem subtle, but the depth is endless. Let’s explore them together — and enjoy those little moments that make us smile while playing!
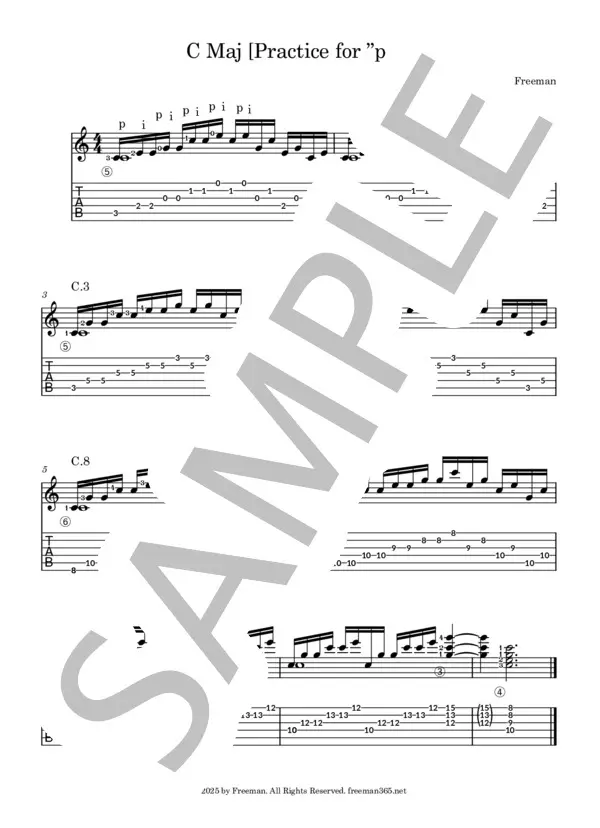
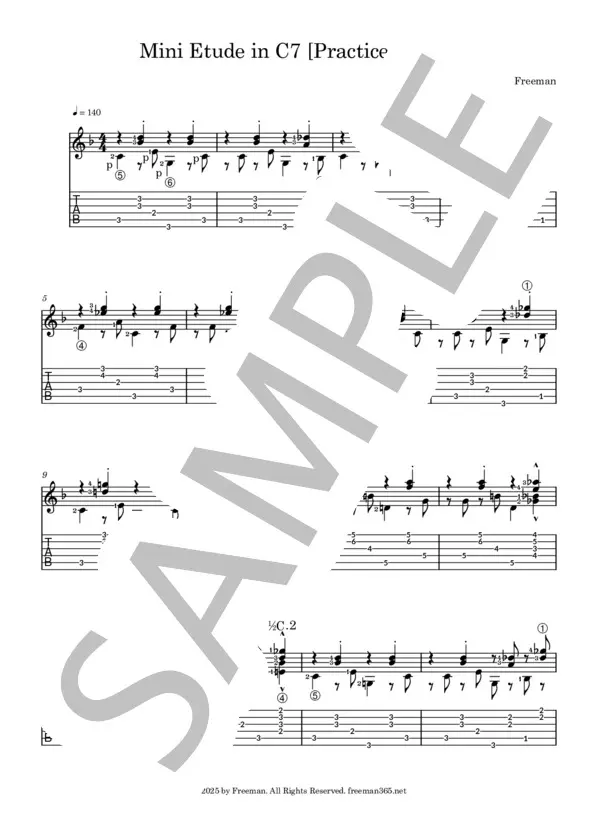
At the end of this article, you’ll also find a practice piece designed to help you fully enjoy these tone differences.
Soft Tone vs. Bright Tone (Right-Hand Position)
A simple but powerful technique: the sound changes depending on where you pluck the strings.
① Soft Tone

The closer you play to the soundhole, the warmer and softer the sound becomes.
② Bright Tone
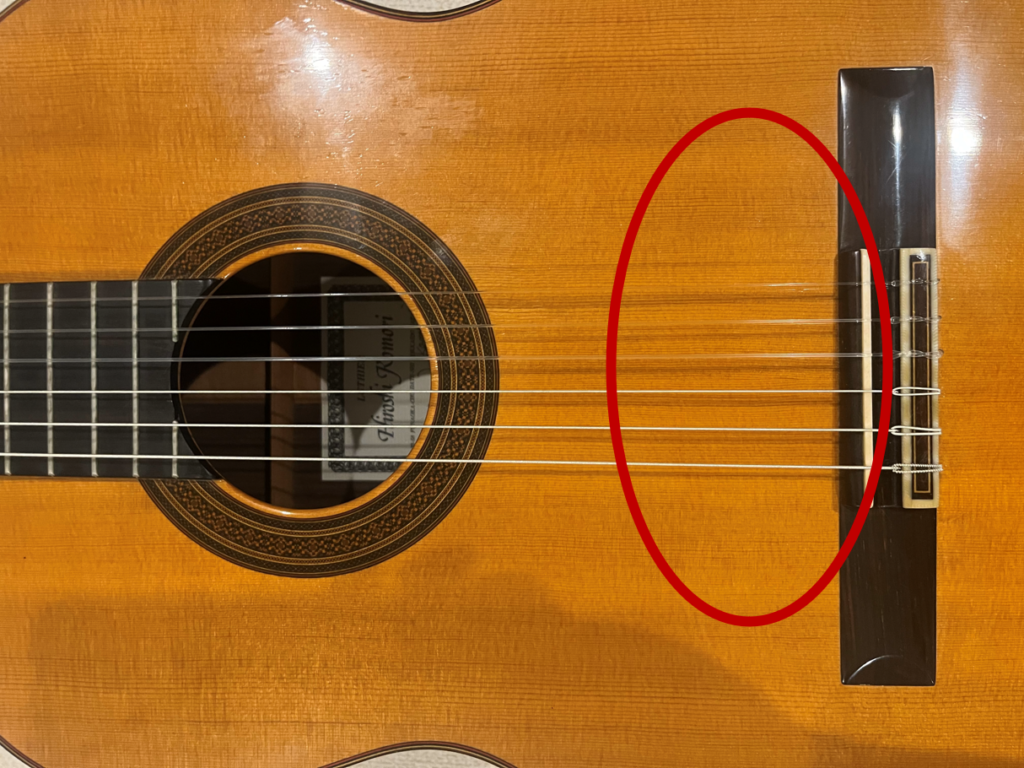
The closer you play to the saddle (the bridge area), the sharper and brighter the sound gets.
Just by shifting your hand position, you can completely change the mood of the music. Try it while playing your favorite piece!
Strong Tone vs. Gentle Tone (Apoyando & Tirando)
こちらはクラシックギター特有のテクニックになります。
シンプルな弦の弾き方だけで、音のコントロールをすることが可能です。
This is unique to classical guitar.
Simply changing the way you pluck the string creates different dynamics.
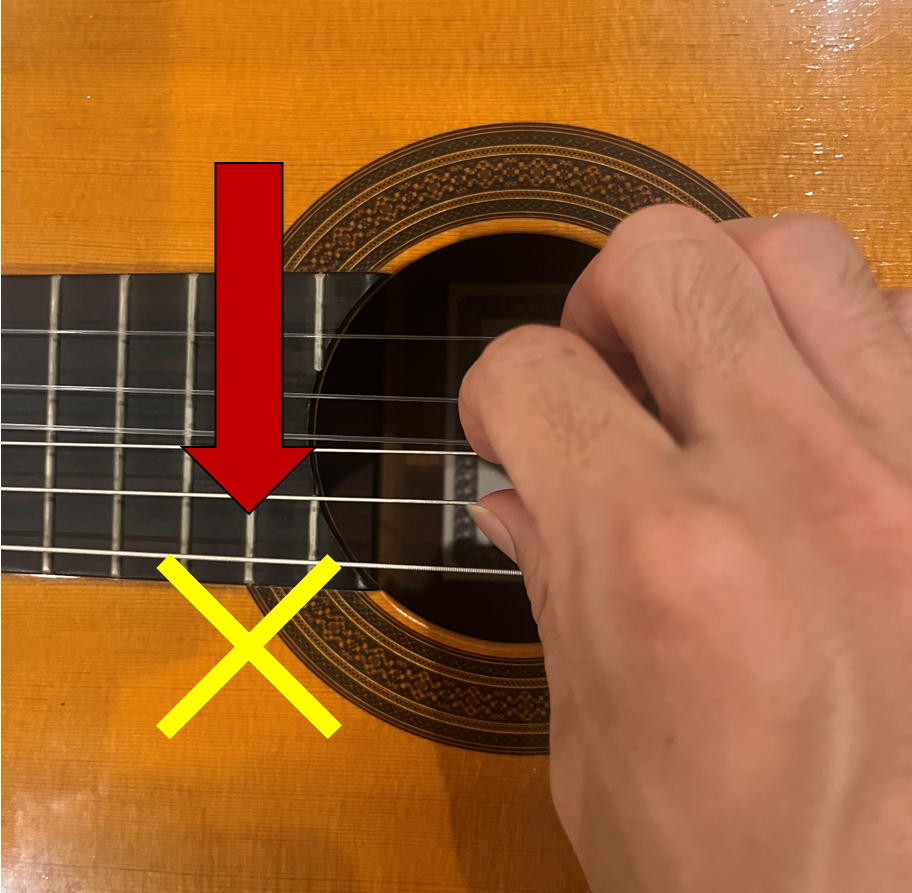
③ Apoyando (Rest Stroke) – Strong Tone
Pluck the string so that your finger rests on the next string.
This produces a clear, powerful tone.
④ Tirando (Free Stroke) – Gentle Tone
Pluck the string without touching the next one.
This allows the whole guitar to resonate, creating a lighter, more delicate tone.
👉 I explained this technique in more detail here:
Apoyando & Tirando Techniques

Loud Tone vs. Quiet Tone (Plucking Strength)
こちらのポイントは少々コツを要します。
特に「大きい音」を出す時です。
This one requires a bit of finesse, especially when producing a loud sound.
⑤ Loud Tone
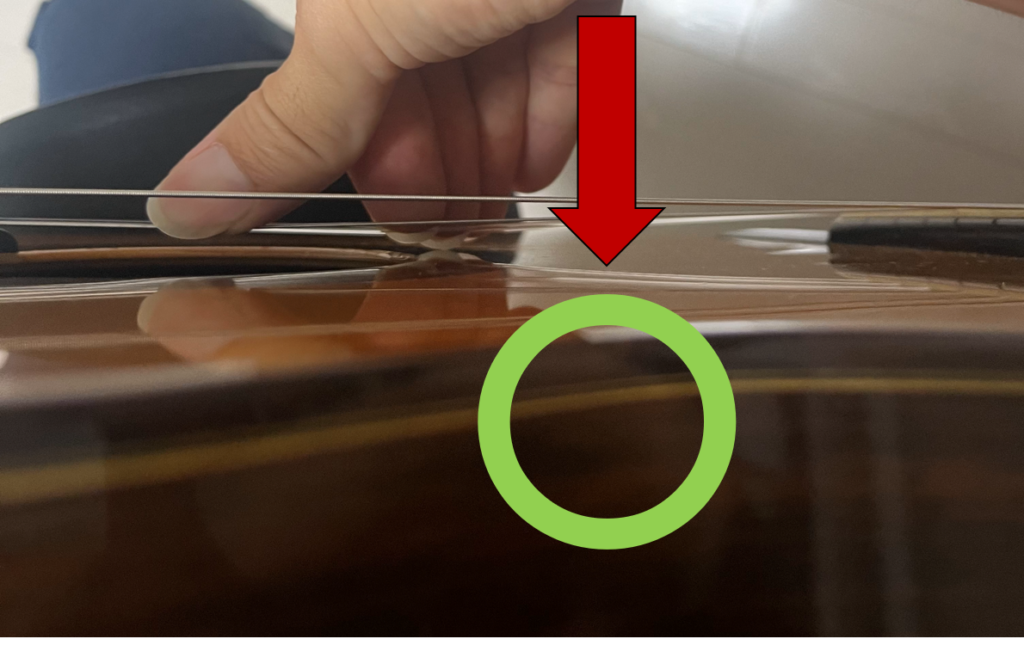
It’s not about just pulling the string harder. Instead, push into the string and release.
his creates a big, natural sound without unnecessary force.
⑥ Quiet Tone
Simply pluck more lightly. Combine this with the “soft tone” technique near the soundhole for an even warmer, quieter expression.
Exploring Tone Quality (i / m / a Fingers)
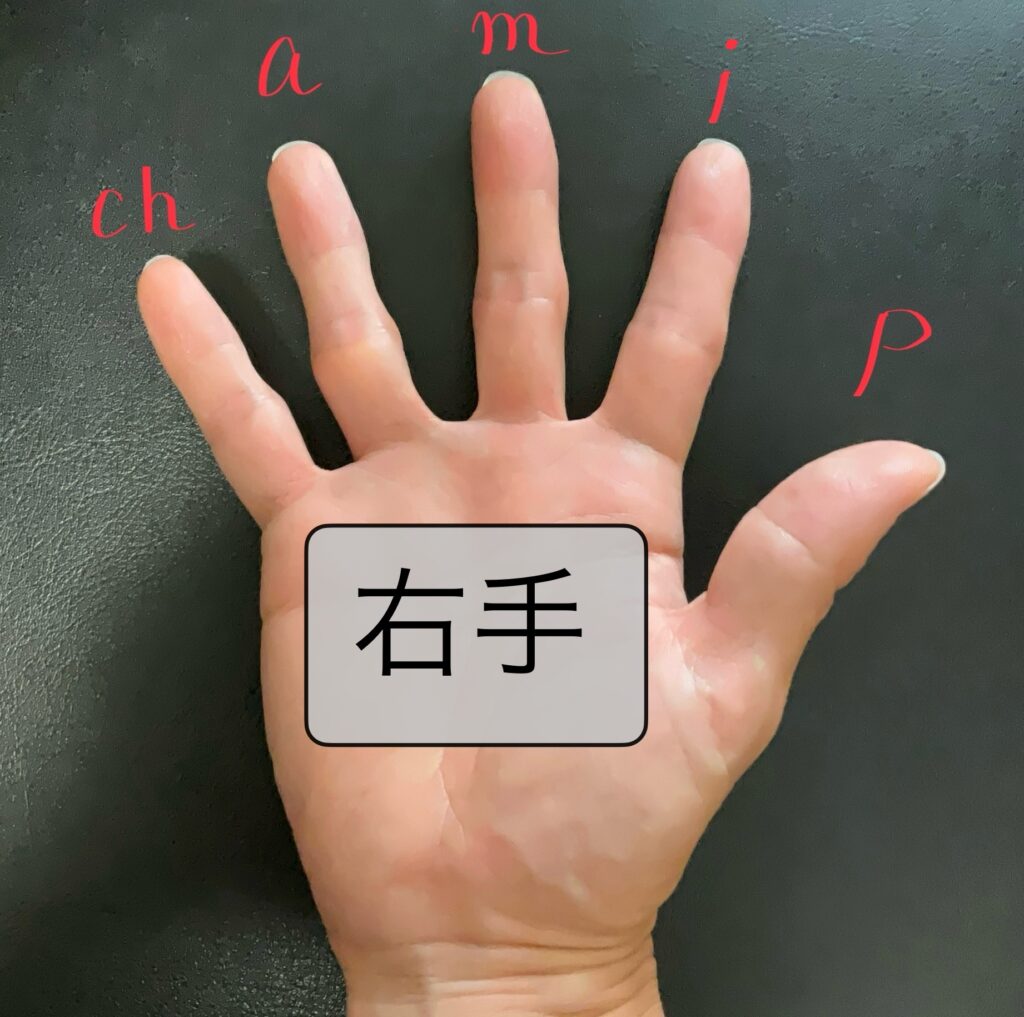
In classical guitar, the melody is usually played with the i (index), m (middle), and a (ring) fingers.
Each finger has its own tonal character, and discovering these differences is part of the fun.
This becomes a unique feature that only you have—your personal sound.
(Note: This is my personal perspective, since tone also depends on nail shape and strength.)
⑦ “i” finger tone
Sharp and defined.
⑧ “m” finger tone
Clear and refreshing.
⑨ “a” finger tone
Warm and lyrical, with a feminine touch.
Understanding these subtle qualities will make your playing many times more enjoyable!
⑦ “i” finger tone – Sharp and defined.
⑧ “m” finger tone – Clear and refreshing.
⑨ “a” finger tone – Warm and lyrical, with a feminine touch.
Understanding these subtle qualities will make your playing many times more enjoyable!
Final Thoughts
Thank you for reading this far!
For simplicity, I divided the techniques into 4 categories and 9 types of sound. But in reality, by combining them you can easily create 24 variations — and infinitely more if you explore deeper.
This is what makes the classical guitar so endlessly fascinating.
Even a piece like Lágrima becomes much more profound when approached from the perspective of tone creation.
If this inspired you, I encourage you to try these techniques yourself.
I hope this helps you either start playing guitar or pick it up again with renewed motivation.
🎶 Next Step: Feel the Difference in Tone
To experience the “depth of sound and tonal variation” introduced in this article,
I composed a mini etude bundle that helps you balance the right-hand fingers — p, i, m, and a — in a natural way.
🎼 Get the practice set here (same sheet music on all sites):
👉 [View on Gumroad]
You can get the set at a special bundle price compared to individual purchases.
By adjusting touch angle and pressure, you’ll feel the tonal character unique to each finger.
It’s a perfect way to connect technique and musical expression.
And if you’d like to see more, please check out my YouTube channel: